Benkster had a dream of creating the perfect custom joystick for Elite Dangerous.
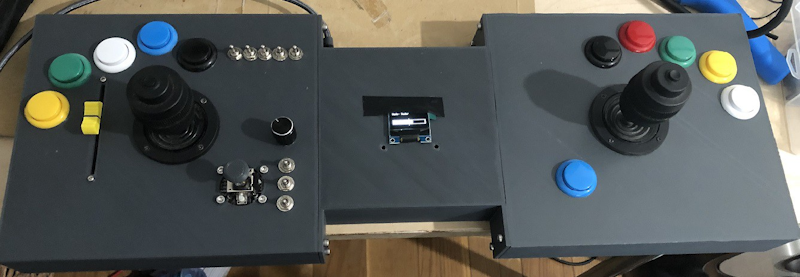
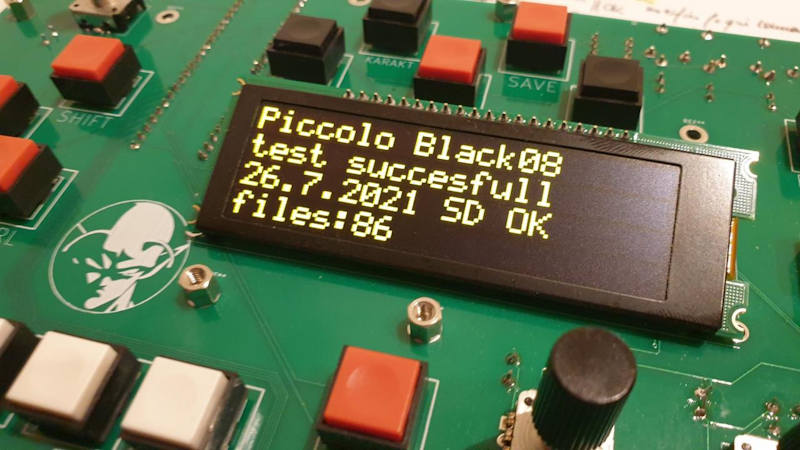
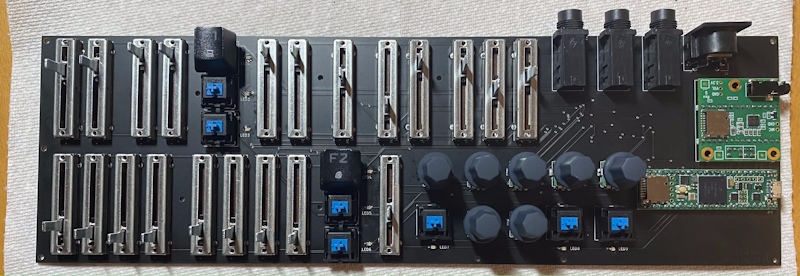
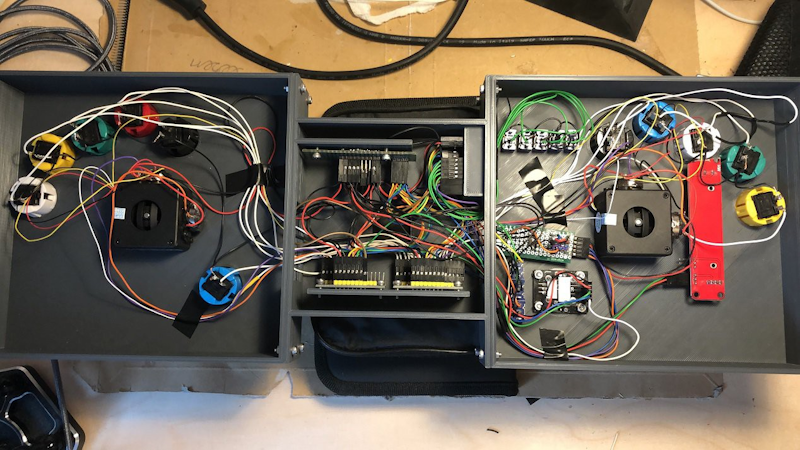
The dream was a lengthy one, spanning two years and numerous iterations. The current version is a leviathan 3d-printed affair with two 3-axis joysticks, one 2-axis joystick, a heap of buttons, and a tiny OLED display to tell you what’s going on, all powered by a Teensy 4.0.
But beyond their dream keyboard, Benkster ended up creating a wealth of information of value to anyone looking to create their own custom keyboard – which has now been assembled into a comprehensive guide. Because sometimes it’s not the joystick, but the instructions we make along the way.