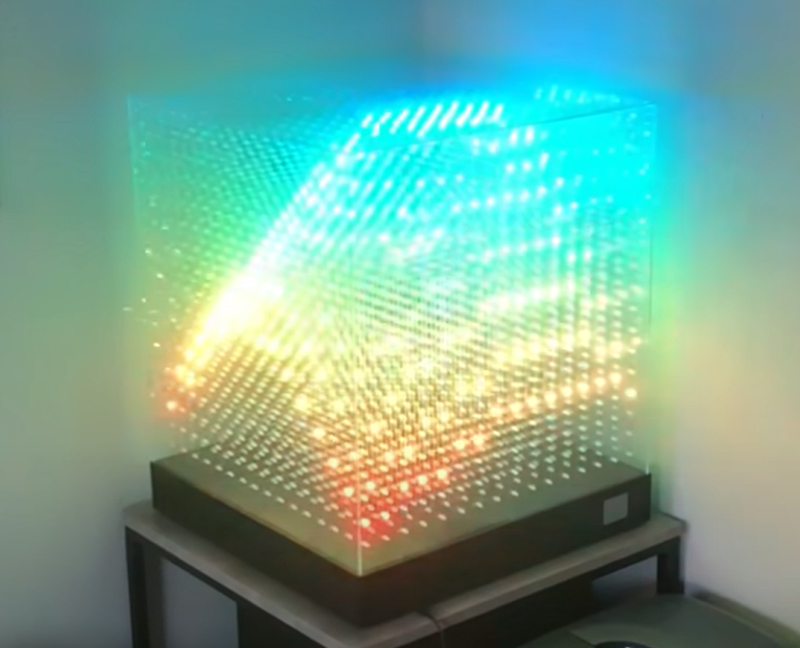
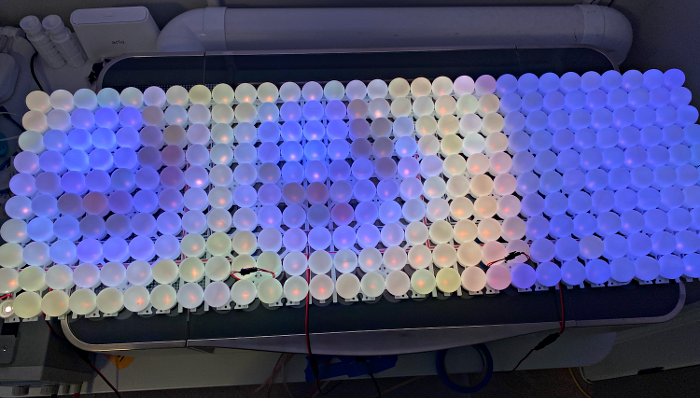
Looking to build a large LED display project David Vogt came up with this magnificent LED Ping Pong Ball display.
Because this project was for high school students it needed to be easy to assemble without advanced electronics skills. It also needed to be budget friendly.
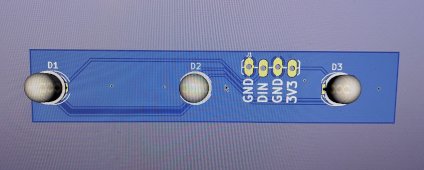
Early in the design it was decided to use ping pong balls to diffuse the LEDs. This set the spacing of the LEDs to the 38 mm diameter of the ball. This created a new challenge as the convenient LED strips don’t match up to this desired spacing. Cutting up the LED strips into individual parts and rewiring them was not desired. David came up with a 3D printed matrix frame to mount the ping pong balls and would easily hold individual PCB mounted LEDs. The custom matrix is modular and allows for easy construction.
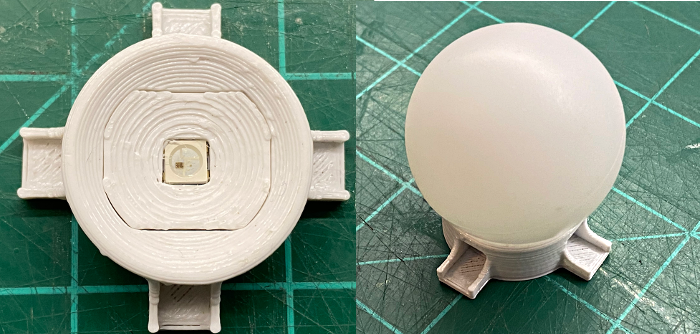
The individual ping pong ball holders mount into a larger matrix to hold them together and make it easier to wire up the LEDs.
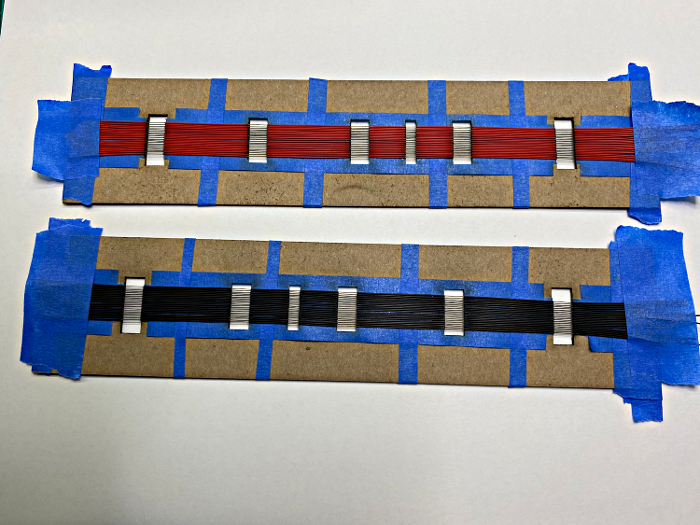
The task of cutting and stripping wire for the 1800 solder joints was not one that David relished. He got creative and rigged up a jig using card stock to hold the wire and used a laser cuter to strategically strip insulation off the wire. The wire was then ready to be placed in the holder and be soldered up.
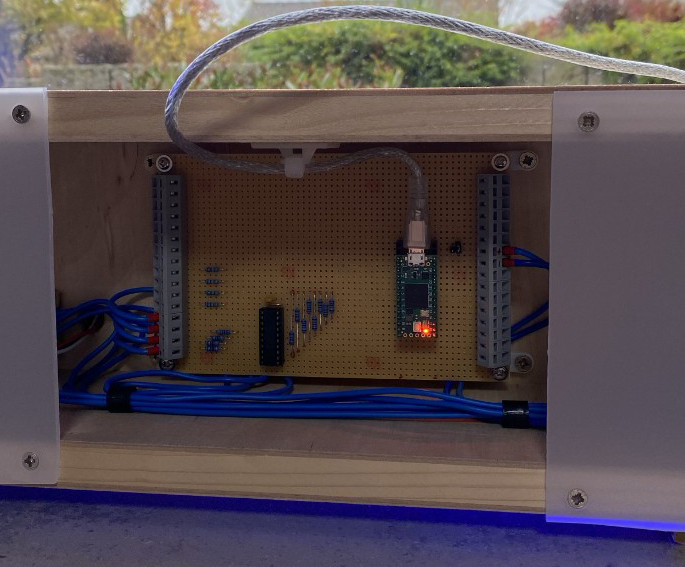
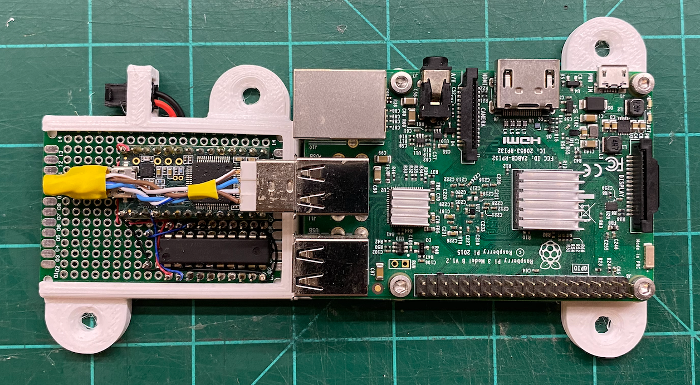
The display is controlled with a combination of a Raspberry Pi to generate the images and a Teensy 3.2 to send the data to the display.
The end result is a massive LED display that is fun to watch.
Code for the project is available on GitHub
The STL 3D print files are available on the project page
This project was also covered by Hackaday and Hackster.io