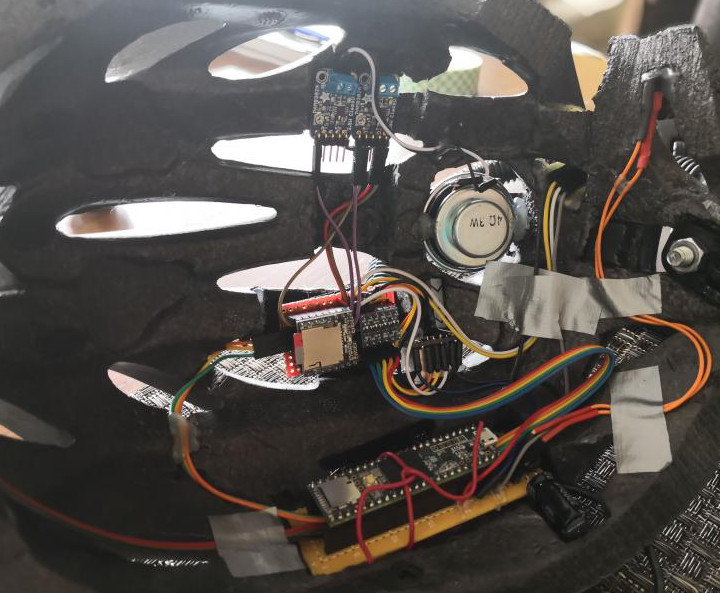
arkhipenko made an impressive Predator costume, complete with a head-tracking plasma gun.
This full-body costume features animatronics, two sound systems, laser lights, and props such as plasma gun! A Teensy 3.5 was more than up for the task of of being the brains of it all. The electronics are mounted in the plasma gun backpack that was cleverly made from a bicycle helmet.
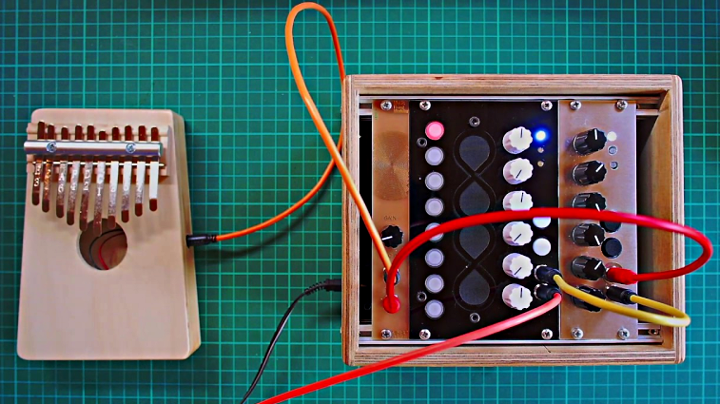
Scott Pitkethly of Cutlasses put together an incredible DIY Eurorack Looper.
The looper uses the ADC and DAC in the Teensy 3.5 to process the audio. The audio is recorded to an SD card to get past the RAM constraints. SD cards are known for being slow, so two circular buffers are used – one to read the audio and the other to write it.
Once a loop is recorded, you can cut it in real time using the 8 buttons. The buttons communicate with the Teensy via I2C. A shift register is used to scan the buttons and turn the LEDs on and off. The looper also features knobs that allow you to change the playback speed.
Details of the build can be found on this Cutlasses blog page. Code for the project is published on GitHub.
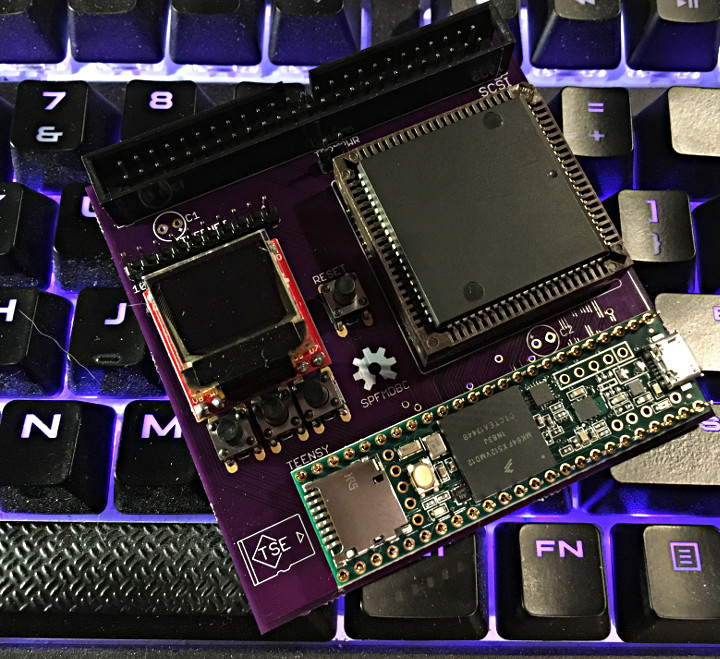
David Kuder developed the Tiny SCSI emulator that can help breathe new life into old hardware.
The emulator is based on a Teensy 3.5 and uses a NCR 5380 SCSI controller chip. IT supports multiple device IDs, types, and logical unit numbers (LUNs). It fits in a compact 3.2″ x 1.6″ footprint and also has a 64×48 OLED display.
Code and Schematics for the project are available on Bitbucket.
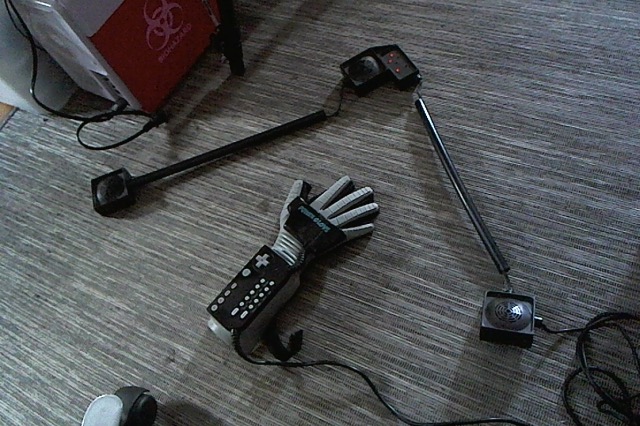
This totally rad project to breathe new life into 80’s technology. Benjamin has some affinity for some of the better parts of the 80’s , like- technology, style, and music. This nostalgia for 80s tech lead him to take a look at the Nintendo Power Glove to see if he make it usable with modern technology rather than just the NES that it was designed for.
To start out, Ben gabbed a multimeter and mapped out the which of the BD9 connector pins correspond to which NES pins. Luckily there is a lot of good information available on the NES controller protocol. He then whipped up a converter board with a that the Power Glove plugs into to allow you to then use the Glove over USB. The converter board uses the flight joystick capability of the Teensy-LC. A level shifter was added because the Teensy-LC runs on 3.3v and the Glove on 5V. One of the nice things about this build is that it doesn’t requiring hacking the innards of the Power Glove itself.
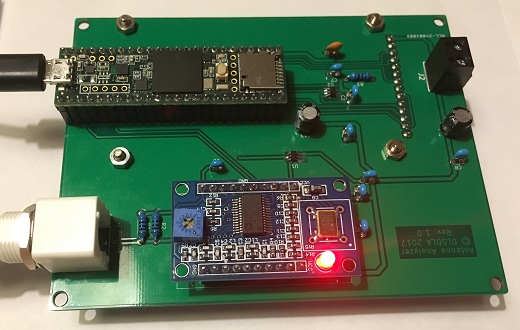
Peter Jonas (PumpkinEater on the forum) made an antenna analyzer based on a DDS (Direct Digital Synthesizer) module with a built-in AD9851 chip.
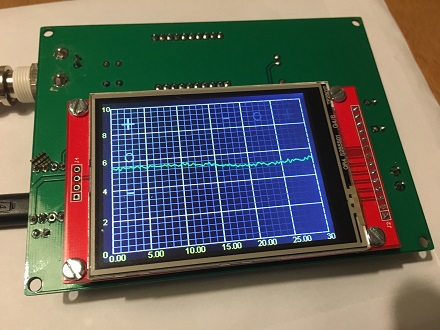
This antenna analyzer can be used to find out at which frequencies a short-wave antenna is matched to the 50 Ohm impedance of the cable and the transceiver. This behavior is presented by the so called “voltage standing wave ratio (VSWR)”. To get this value for a frequency range, a Teensy 3.5 controls a DDS (Direct digital synthesizer) signal generator, which sweeps frequencies between 100kHz and 30 MHz. The hf voltages on the signal generator and at the antenna under test are read by the Teensy and compiled by some calculations to derive the VSWR values. The results are shown on a TFT touch display.
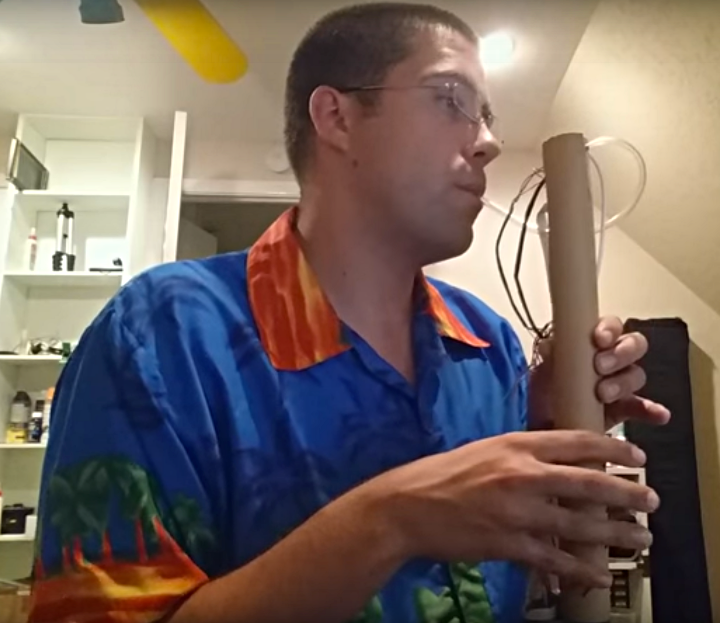
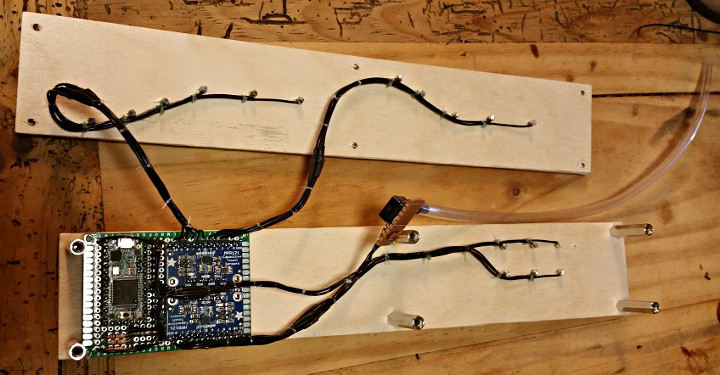
Jeff Hopkins has developed and electronic aerophone, The Open Woodwind Project, that focuses on usability and easy to make yourself.
Jeff wanted to develop an electronic instrument that was easy to use, inexpensive, and easy for the average maker to build. The result was his electronic areophone, a MIDI woodwind controller.
The project uses a Teensy 3.2 and the Audio Library to create a good quality onboard synthesizer with waveform synthesis and reverb effect.
These demos show off the great sound effects that have been created using the the on board synth.
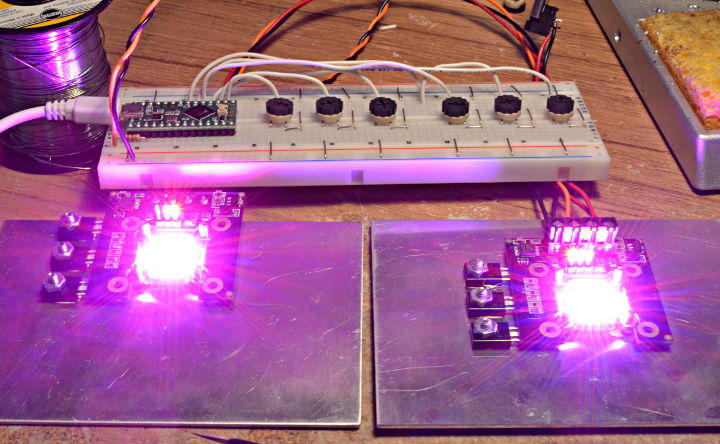
Often I make a quick demo involving pots to adjust parameters. I needed a good way to put pots on solderless breadboards.
I had been doing this way:
These little thumbwheel pots work, but they’re not easy to turn, and trying to turn them puts quite a bit of stress on the loose breadboard connections. They’re also too low to the surface, so people’s fingers get close to the wires and risk disconnecting them.
Socially, I’ve observed people tend to feel awkward touching these… maybe they don’t want to break my project? Or maybe it’s just not clear if they’re supposed to be touched and adjusted?
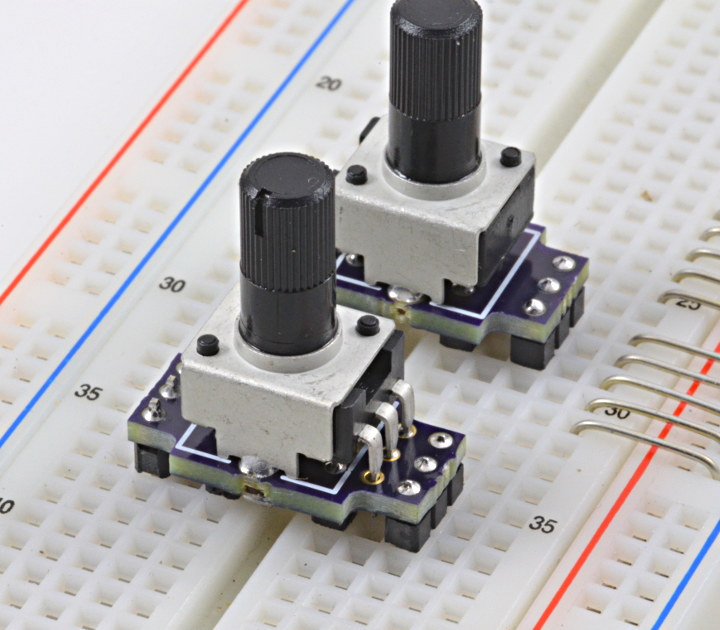
With knobs on top of the pots, a last-minute project really looks like something you’re supposed to touch!
The ones in this video are actually the first version I made, with only 6 header pins. Those worked, but they still weren’t as strong as I wanted.
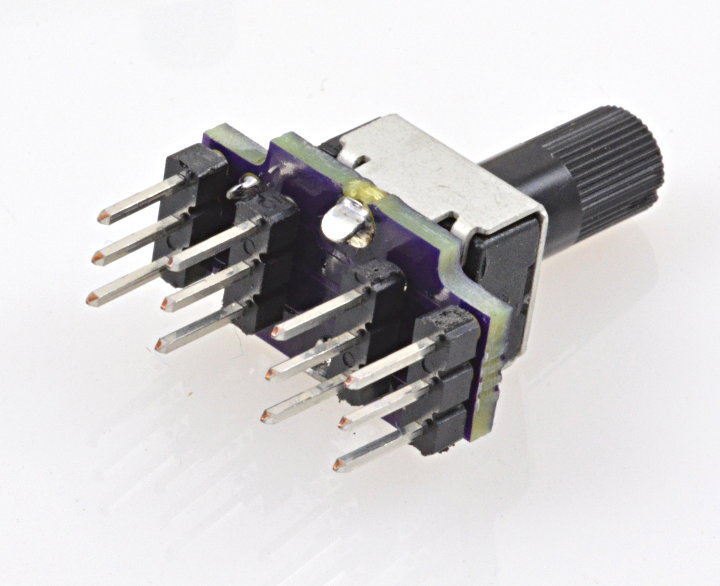
My latest version adds another pair of pins. It’s *really* strong and secure when plugged into a breadboard.
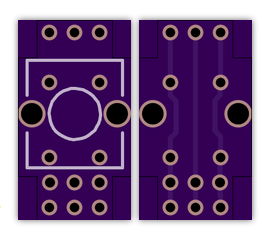
The PCB is so very simple.
They can be ordered from OSH Park, if you’d like to have some for your next breadboard-based demo.
The pot used on these photos is Digikey # PTV09A-4020U-B103-ND. This is a very standard pinout for 6mm shaft pots, so many others are likely to work fine.
The colored knobs were ordered from a no-name Chinese merchant on Ebay. Searching on Ebay for “knob 6mm shaft” will bring up *lots* of them. These gray ones with colored tops were 10 piece for $1, with free shipping. The ones I got didn’t actually fit the 6mm shaft until I ran a drill bit into the center, but it’s hard to complain when they’re so incredibly cheap.
Best of all, real knobs with bright colors and sturdy construction really invite people to touch and adjust and play with a breadboard constructed demo, in fun ways that just aren’t socially feasible with trim pots!
This article was originally published on the DorkbotPDX website, on August 14, 2015. In late 2018, DorkbotPDX removed its blog section. An archive of the original article is still available on the Internet Archive. I am republishing this article here, so anyone wanting to make these sturdy pot boards can find the original info.
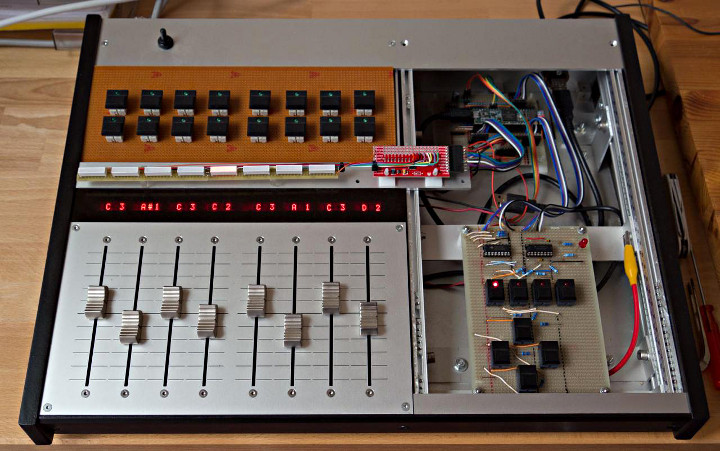
The panel uses L293B H-bridges to drive the motors. The fader wipers and touchtracks are connected directly to the Teensy. Each faders has it’s own PID control using 12 bit PWM at 14648.437 Hz. A second Teensy is reading the values from the faders via I2C and shows the raw values on the LED displays.
This project makes use of the ResponsiveAnalogRead. Gerrit notes that he’s found the performance to be pretty good. The faders can move fast and he’s been able to get very little overshoot, even at high speed.
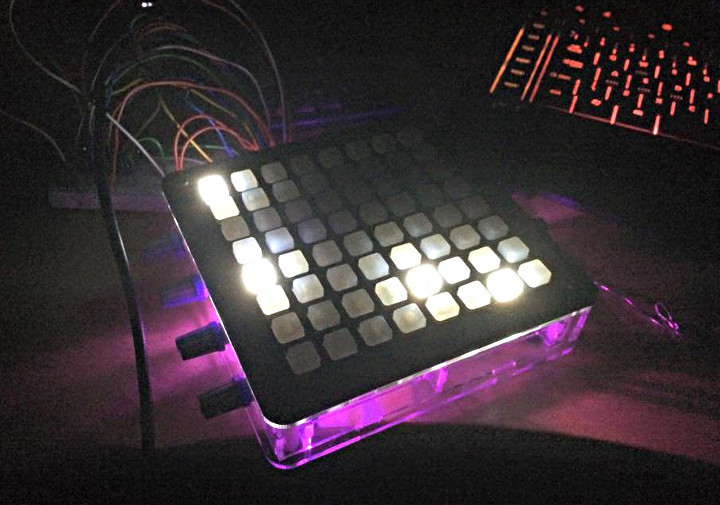
Jonathan Payne made the Teenstrument64-LC, a cool MIDI sequencer made from an Adafruit Untztrument.
This device features 3 instruments on 3 MIDI channels as well as a 32 step sequencer for each instrument. It takes advantage of the native Teensy USB MIDI stack and also connects to an iPad using a USB camera connection kit.
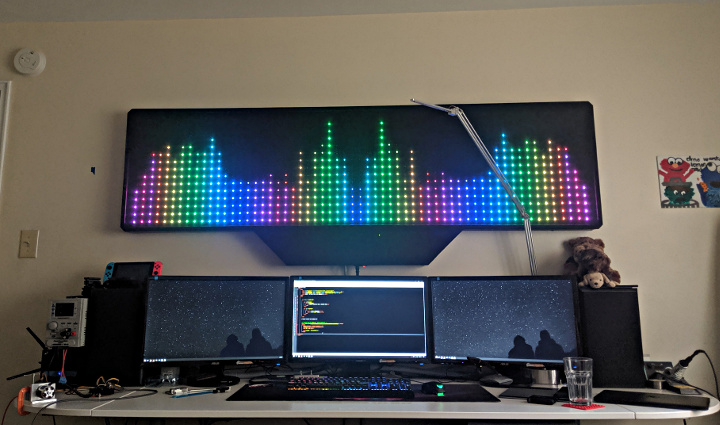
James Best a very cool wall mounted LED music visualizer that lights up his room more than the over-head lights do.
Armed with blue tape and some hand tools, James got to work mounting 900 WS2812 LEDs. After a miss-step with some Gaffers tape and some sanding, the adhesive on the LED strips adhered nicely to the wooden base. The original Arduino didn’t have quite the processing power needed for the project, but the Teensy 3.2 with built in Direct Memory Access (DMA) was up to the task. The final enhancement to the project was a diffuser to help hide the internal components.
Additional information on the project can be found on this page.