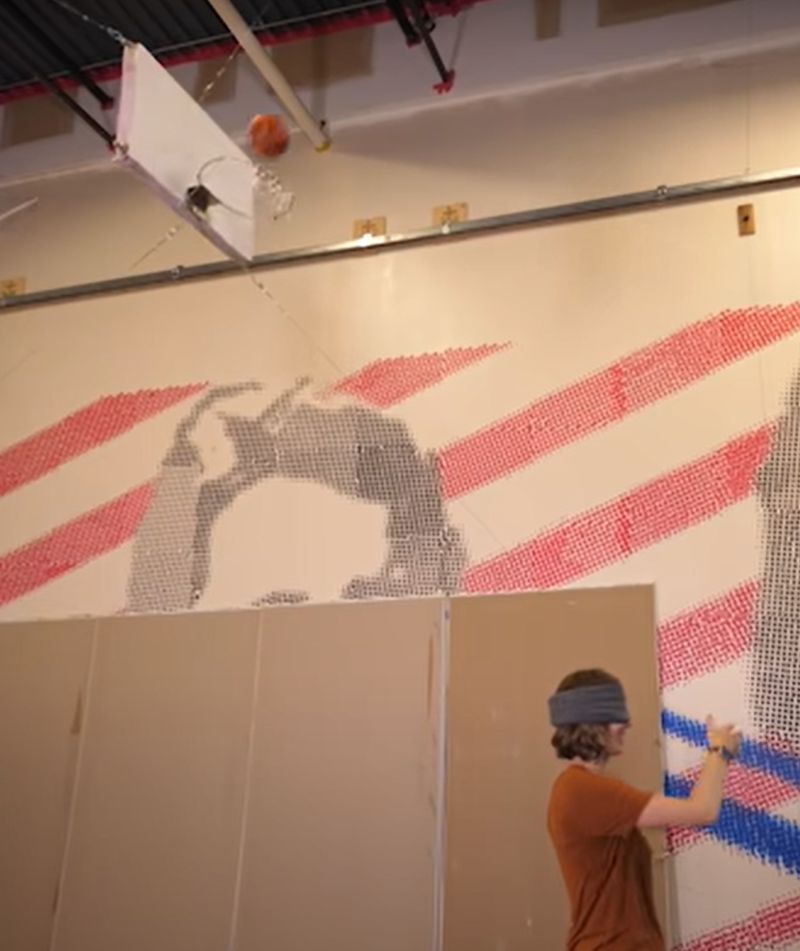
YouTuber Stuff Made Here has shared the latest evolution of his intelligent basketball hoops, this time in the form of the ball-seeking hoop.

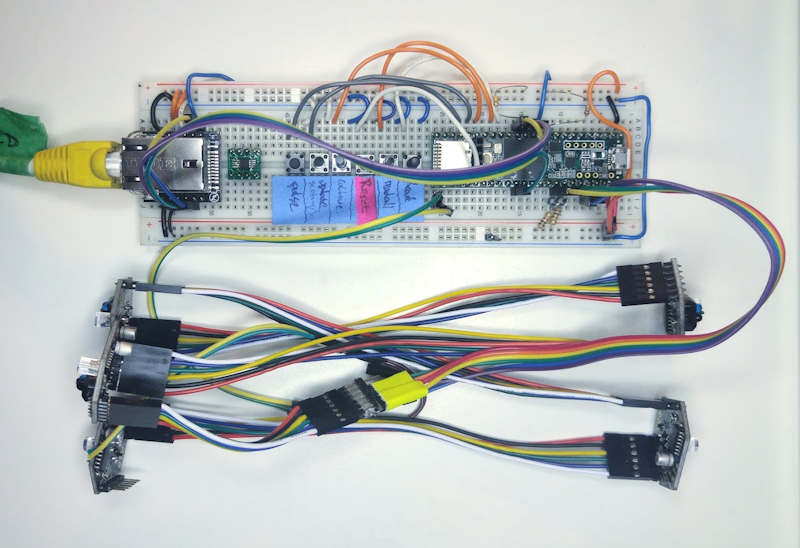
Powered by a Teensy 3.6, this robotic backboard moves through three-dimensional space to ensure every shot ends with a satisfying swish.
A specially modified basketball’s position is tracked via eight OptiTrack motion-tracking cameras, with the resulting data used to calculate its trajectory in real time.
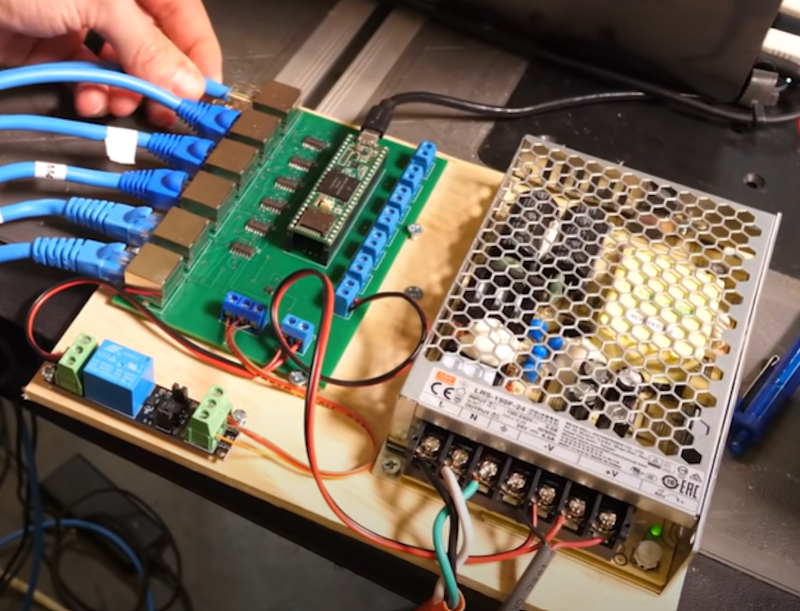
Six large motors and a pulley system allow the hoop to position itself anywhere in the room, ensuring a perfect shot every time.
See it in action and learn more about how it was made in the video below.