Last time we saw The Sketchy Maker on the PJRC blog, it was in the form of a giant 3d-printed LEGO Luke Skywalker, in celebration of Star Wars day. Now they’re back, but have taken a turn to the dark side, with a giant Darth Vader minifigure.
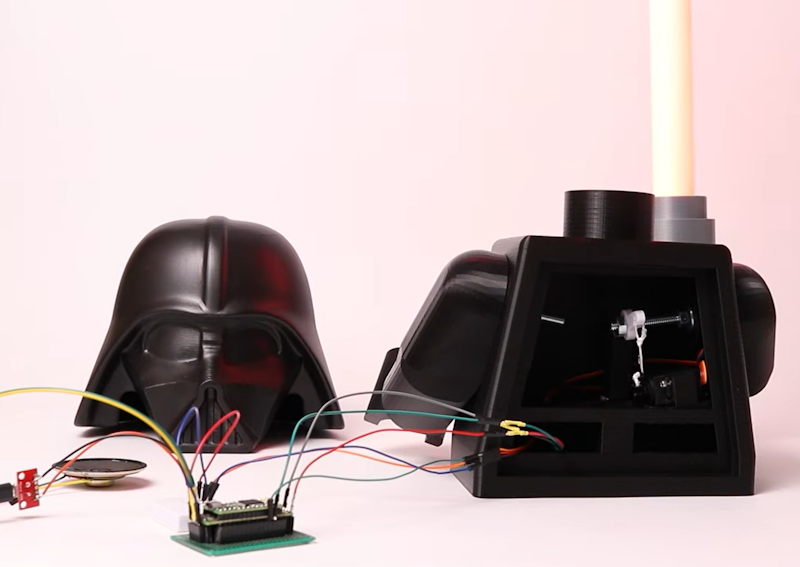
The more sinister effigy follows the same formula as the previous project, with a servo-powered arm, WS2812B-enhanced light saber, and a speaker for sound effects, all driven by our Prop Shield. Just like last time, the models were displayed publicly for the local community to enjoy, and thankfully avoided any dodgy Scottish weather and made it back safely to the shelf after their exhibition.