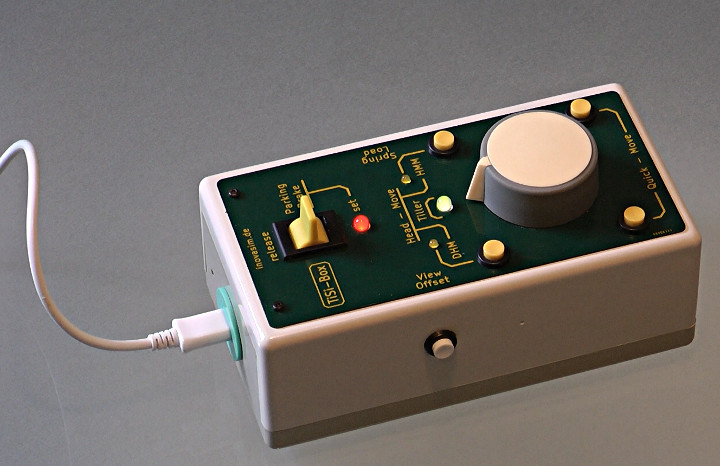
Hubert (forum user inovasim.de) has created the TiSi Box, a hardware add on to X-Plane that allows for a new kind of visual control.
The TiSi-box combines the nose wheel steering with the sight control using a self-centering rotary knob. It interfaces with the X-Plane flight simulation software though a Teensy 3.2.
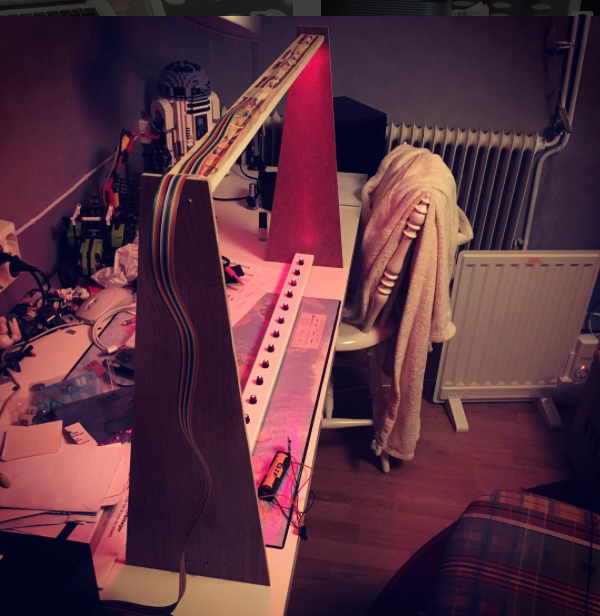
Johan Berglund built a very cool 16-note, multi-scale laser harp.
This impressive build features 16 beams, MIDI over USB and 5-pin DIN, adjustable octave and transposition, and and extensive list of selectable scales.
This project page offers detailed information on how to build your own as well as schematics. The code is available on GitHub.
The project uses a Teensy 3.2 and a couple of small displays and uses a modified version of the Uncanny Eyes sketch. The modifications make the eyes look up and down when a quarter is inserted.
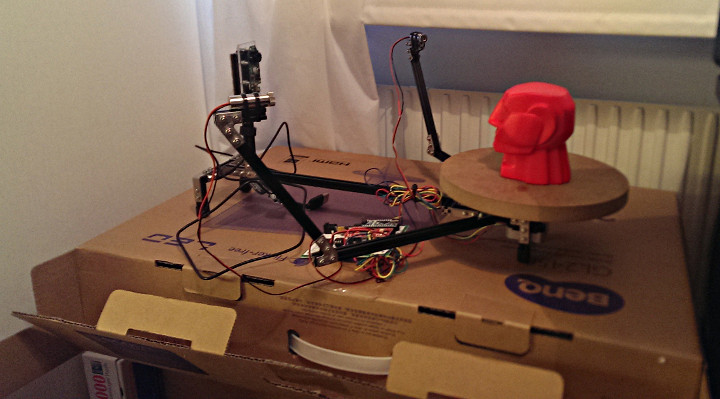
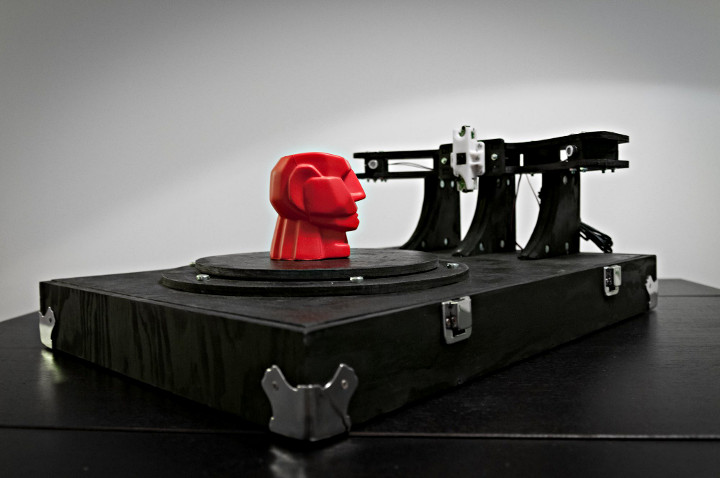
FilleK built a 3D scanner using a webcam and a couple of line lasers.
The scanner works by setting an object on a rotary table and a Logitech C920 webcam to capture images of it to a computer over USB. All the hardware (except for the webcam) is controlled by a Teensy.
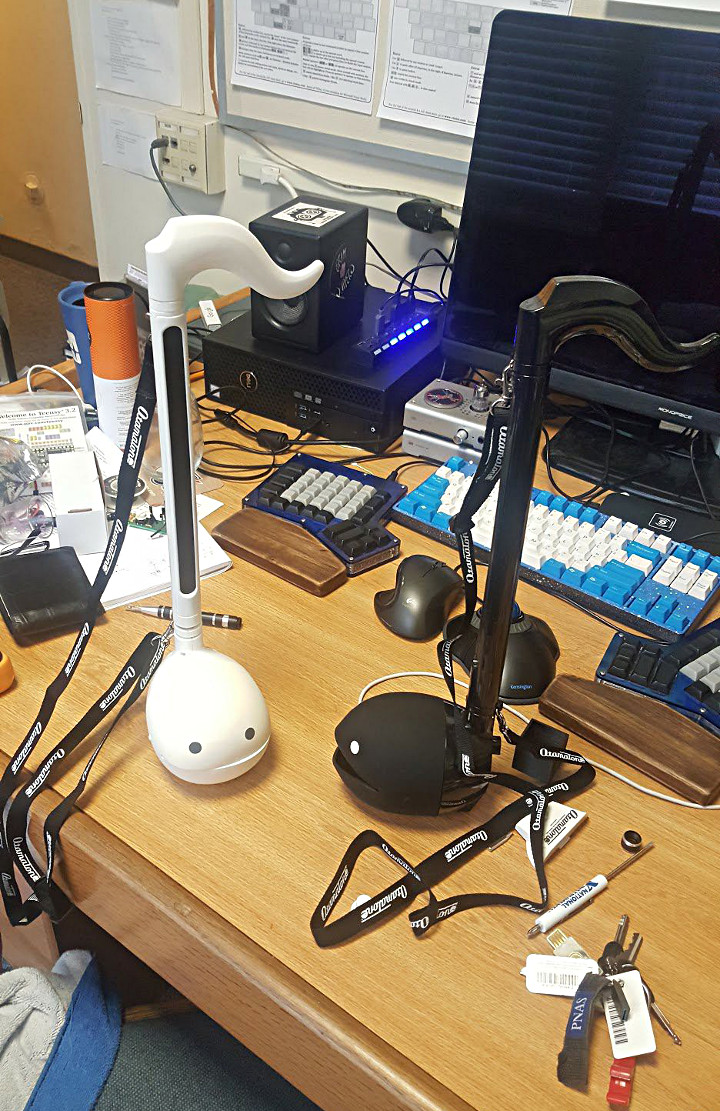
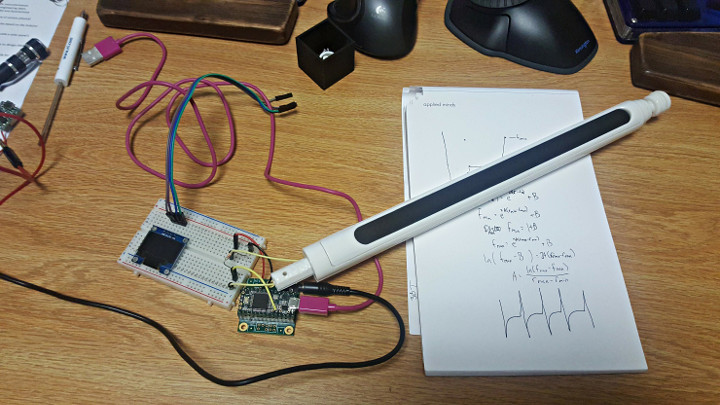
Evan is working on upgrading his Otamatone by replacing the internal analog synthesizer with a digital synth.
Using a Teensy 3.2 paired with an audio shield, the project aims to put a digital synth in an Otamatone that will include presets that can be configured on the fly. This could be very useful in making the instrument a bit easier to play. After all, the world needs a better Otamatone.
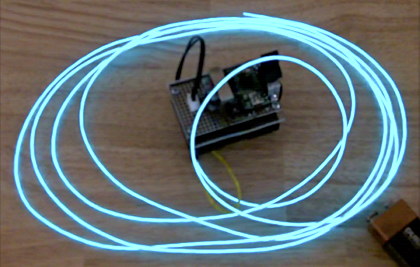
Years ago I experimented with shifting the color of El Wire by changing the AC frequency.
The color effect is subtle, but can be seen by most people with good color vision.
Not long after I published this video, I discovered “dcroy” built this same thing a few months before I did, and using only a 555 timer! Looks like it’s not as unique as I thought!
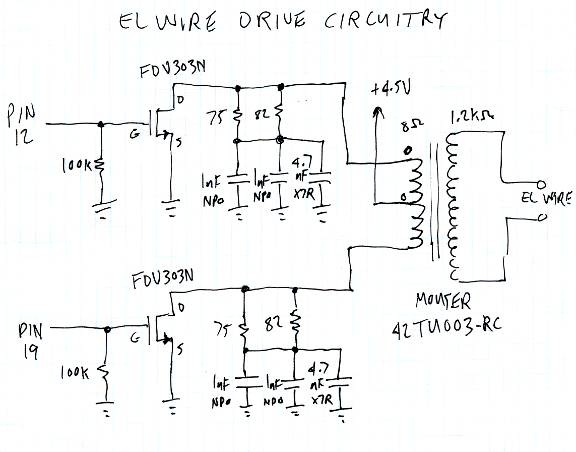
This is the schematic for the circuit I built. Most of the parts are small surface mount and they’re hidden under the transformer.
Here’s the code from the Arduino IDE. Pretty simple stuff. But beware, if you try this, it’s essential to drive each transistor for the same length of time, and not more than about 1ms. If you drive one more than the other, or leave either on too long, the transform sees a DC or low frequency signal. That could result in far too much current, probably destroying the transistors if the battery is fresh.
const int pin1 = 12;
const int pin2 = 19;

void setup() {
  Serial.end();  // USB off, to save power
  for (byte i=0; i<25; i++) {
    pinMode(i, OUTPUT);    // all unused pins low
    digitalWrite(i, LOW);  // to avoid wasting power
  }
  pinMode(pin1, OUTPUT);
  pinMode(pin2, OUTPUT);
}

unsigned int us = 250 * 64;
const int usMax = 500 * 32;
const int usMin = 120 * 32;
byte dir = 0;

void loop() {
  digitalWrite(pin1, HIGH);
  delayMicroseconds(us / 32);
  digitalWrite(pin1, LOW);
  if (dir) {
    us = us + 1 + us / 2048;
    if (us >= usMax) dir = 0;
  } else {
    us = us - 1 - us / 2048;
    if (us <= usMin) dir = 1;
  }
  digitalWrite(pin2, HIGH);
  delayMicroseconds(us / 32);
  digitalWrite(pin2, LOW);
}
This article was originally published on the DorkbotPDX website, on July 12, 2011. In late 2018, DorkbotPDX removed its blog section. An archive of the original article is still available on the Internet Archive. I am republishing this article here, in case anyone might wish to try El Wire color changing. Admittedly, El Wire became less popular around 2013 when inexpensive LED strips appeared on the market, but it still offers interesting effects which are hard to accomplish with LEDs.